Introduction
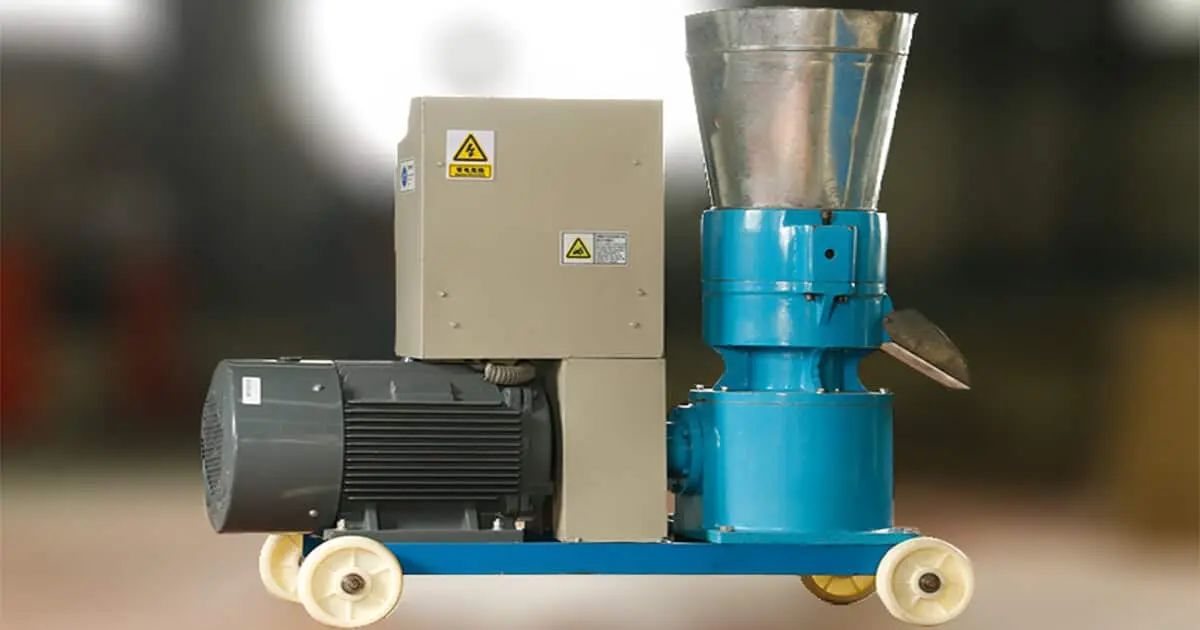
The main machine used to make hay pellets is called a hay pellet mill, sometimes also known as a pellet press.
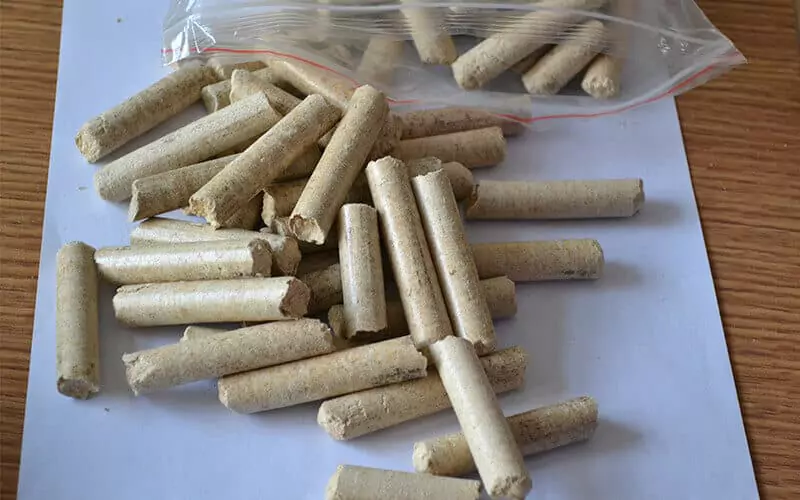
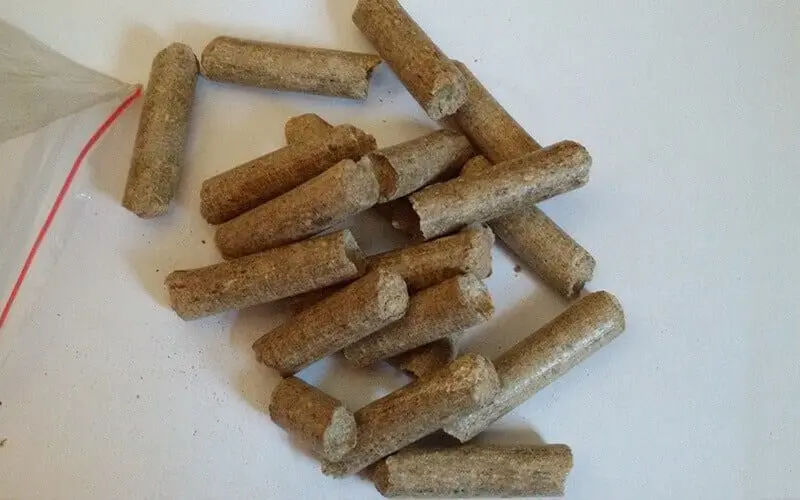
But making good hay pellets involves more than just this one machine. It’s a process. It is a smart way to turn bulky, hard-to-handle hay into a dense, easy-to-use product. This product can be used for high-quality animal feed or even as a biomass fuel.
This guide will break down the hay pellet mill in detail. We’ll also look at the other essential equipment you will need. And we’ll cover how all these machines work together to turn your hay into valuable pellets.
Why Turn Bulky Hay into Small Pellets? The Big Advantages
Making hay into pellets takes some work, but it offers some very clear and powerful advantages for a farm.
Easier Storage & Transport
Pellets are much denser than baled hay. This means they take up significantly less space in your barn or storage shed. This also makes them much cheaper and easier to transport if you plan to sell them.
Less Feed Waste
Animals, especially horses and small animals like rabbits, can be picky eaters. They often pull hay out of feeders, trample it into their bedding, and waste a lot of it. Pellets are eaten more cleanly, which can reduce your feed waste by a large amount.
Consistent Nutrition in Every Bite
When animals eat hay, they sometimes eat only the tastiest parts, like the soft leaves. They might leave behind the tougher, more fibrous stems. With pellets, every single pellet contains a balanced mix of the whole hay. This ensures your animals get consistent nutrition in every bite.
Reduced Dust
Good quality hay pellets are much less dusty than loose hay. This is a major health benefit for animals with respiratory sensitivities, like many horses. It also helps to keep the air in your barn much cleaner for you and your animals.
Precise and Easy Portion Control
Pellets are very easy to scoop and weigh. This allows you to provide very accurate and consistent amounts of feed for your animals. This is important for managing an animal’s diet, weight, and overall health.

The Heart of the Operation: Understanding the Hay Pellet Mill
The hay pellet mill is the central machine in this process. Here’s a closer look at how it works and the main types you will find.
What it Does: The Basic Principle
The core function of a pellet mill is simple but powerful. It uses intense pressure from heavy rollers. These rollers force chopped and properly moistened hay through small holes in a strong, thick metal plate called a die. This compression process is what forms the hay into dense, solid pellets.
Key Types of Hay Pellet Mills: Flat Die vs. Ring Die
Flat Die Wood Pellet Mills:
How they work: Imagine a flat, heavy metal disc with many small holes drilled through it. This is the die. Rollers move over the top of this plate. They press the hay material down, forcing it through the holes to make the pellets.
Best for: Flat die mills are often more affordable and have a simpler design. They are generally a good choice for smaller-scale production. This includes use on homesteads or in small workshops, or for those just starting out.
Considerations: They typically have a lower production capacity compared to ring die mills. The die and rollers might also wear out a bit faster with continuous, heavy-duty use.
Ring Die Wood Pellet Mills:
How they work: In this type, the die is shaped like a thick, heavy ring or cylinder, and it rotates at high speed. Rollers are positioned on the inside of this rotating ring. As the hay material is fed into the center, the rollers press it outwards through the holes in the ring die.
Best for: These mills are built for larger-scale, often commercial, production. They are more efficient, have a much greater capacity, and can handle continuous, heavy-duty operation. They generally produce very consistent and durable pellets.
Considerations: Ring die mills are more expensive to buy. They can also be more complex in their design and may require more specialized maintenance.
Other Important Machines You’ll Need
To make good hay pellets, you need more than just the pellet mill itself. It works as part of a system.
The Hay Grinder (A Hammer Mill or Tub Grinder):
This is a non-negotiable first step. You cannot feed long-strand hay directly into a pellet mill. The hay must first be chopped and then ground into a uniform, shorter particle size. A robust hammer mill or a tub grinder is usually needed for this job.
The Conditioner (Sometimes built into the pellet mill):
This machine’s important role is to add a small, controlled amount of moisture to the ground hay. This is usually done with steam or a fine water mist. This softens the tough hay fibers. It helps them bind together better during the high-pressure pelleting process.
The Pellet Cooler:
Pellets come out of the pellet mill very hot and somewhat soft. This is due to the intense friction and pressure. A cooler is needed to bring them down to room temperature. This cooling process is what makes them hard and stable so they can be stored.
The Sifter/Screener & Packer:
Larger setups often include a sifter. This machine removes any fine dust or broken pellets. This ensures a high-quality final product. A bagging machine can then be used for efficient packaging.

The Process: How to Make Hay Pellets Step-by-Step
Here is a simple look at the journey from a bale of hay to a finished pellet:
- Hay Preparation: Start with dry, good-quality hay. Make sure it is free from mold, dirt, or rocks.
- Grinding: Use your grinder or hammer mill to reduce the hay into small, uniform particles.
- Conditioning: Add a small amount of moisture (steam or water). The goal is to get the hay to the ideal moisture content for pelleting. For most hay, this is usually around 14-16%.
- Pelleting: Feed the conditioned hay mixture into the pellet mill at a steady and even rate.
- Cooling: Spread the hot, freshly made pellets out so that air can get to them. Let them cool thoroughly until they are hard and at room temperature.
- Sifting & Storing: Remove any fine dust. Store the finished pellets in a dry place.


FAQ
1. What is the best type of hay to make pellets from?
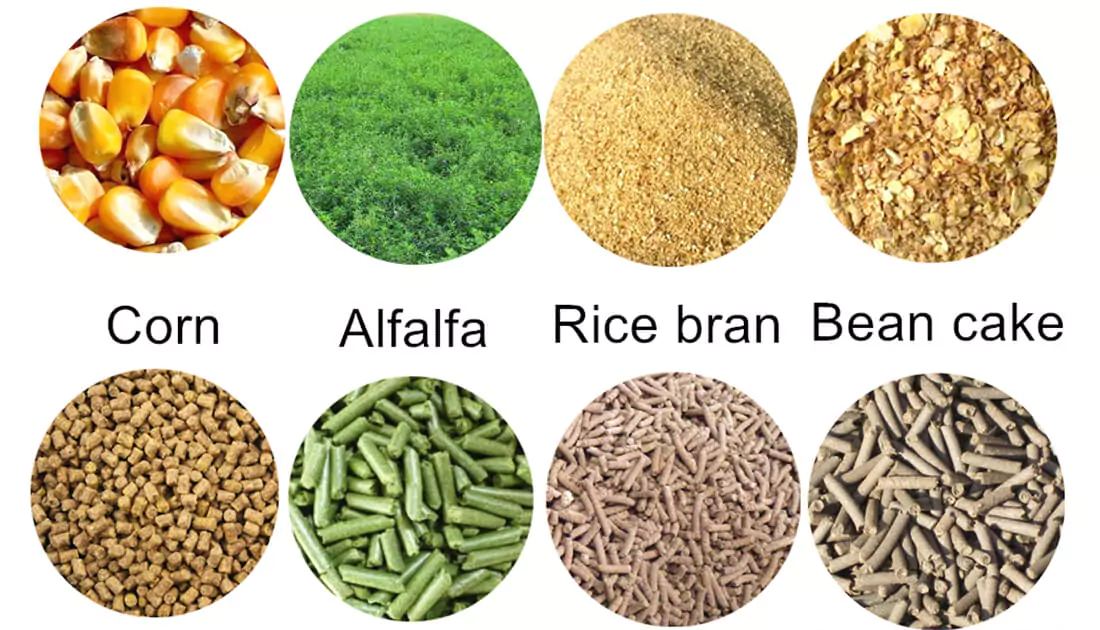
Many types of hay can work well. Alfalfa is very popular for making feed pellets because of its high nutritional value, especially its protein and calcium content. Other common grass hays like timothy, orchard grass, and brome grass also make excellent pellets. These are especially good for horses and small animals. The most important thing is to start with good quality, clean, and mold-free hay.
2. Do I need to add a binder (like molasses or starch) to make hay pellets?
Usually, no. For most types of hay, the natural compounds that are already inside the plant, when combined with the intense heat and pressure from the pellet mill, are enough to bind the pellets together strongly. Getting the moisture content of the hay just right (usually around 14-16%) is much more important for making good pellets than adding external binders.
3. Can I use a wood pellet mill to make hay pellets?
Sometimes this can work, but it is often not ideal and can lead to problems. Hay is generally lighter, more fibrous, and can be more abrasive on the machinery than wood sawdust. A machine that is specifically designed or rated for “biomass” or tough agricultural materials like hay will often perform much better. It will also likely be more durable in the long run than a light-duty mill that was designed only for making wood pellets from sawdust.

