Why Alfalfa Pellets Are Revolutionizing Modern Farming
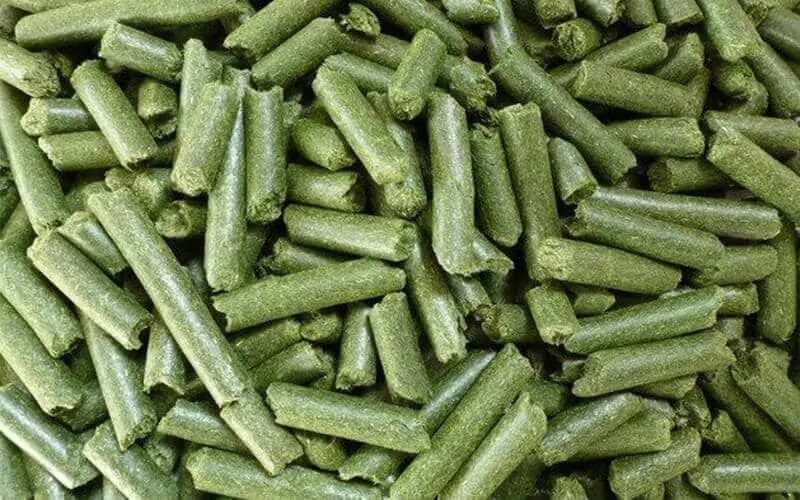
You know how hard it is if you are a farmer. You need to keep an eye on your costs while also keeping your animals healthy. You can use alfalfa pellets to help with both. These are little, tight balls made from dried alfalfa hay. They are easier to store than big bales of hay, and each pound has 30% more good food in it.
But the best part is how much food you save. Good pellets can help you waste less feed by up to 40%. This could also mean more milk from their cows for dairy farmers. Let us talk about why these small green pellets are becoming a must-have in every barn.
From Field to Feed Trough: How Alfalfa Pellets Work
This kind of feed is great for a lot of different farms. This is great for organic chicken farms that need feed that is not made from GMOs. Butterfat levels have gone up by 15% for dairy farmers. It helps horses build strong, lean muscle, which is why horse trainers use it.
How to Make Alfalfa Pellets Step-by-Step
1. Harvest at the Right Time
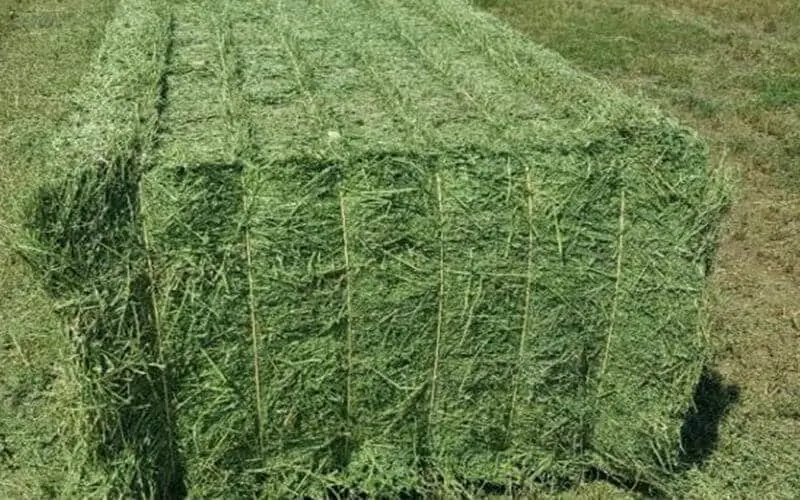
Pellets that are good start in the field. The time of year you cut your alfalfa makes a big difference. We learned that cutting it when only 10% of the flowers are open gives you 18% more protein.
You can tell the hay is ready when the leaves snap and feel dry. That is a sign that the moisture level is correct. A good tip is to have a moisture meter on hand. For a smooth grind, the moisture level should be between 65 and 70%.
2. Grind for a Good Mix
You can not make good pellets out of big pieces of hay. You need to grind it first. A coarse grind of about 1/4 inch is good for the digestive health of cows. If you are mixing it into chicken feed, a fine powder is better.
This is a useful tip: while grinding, add a little molasses (no more than 3%). It works like glue and makes the pellets harder.
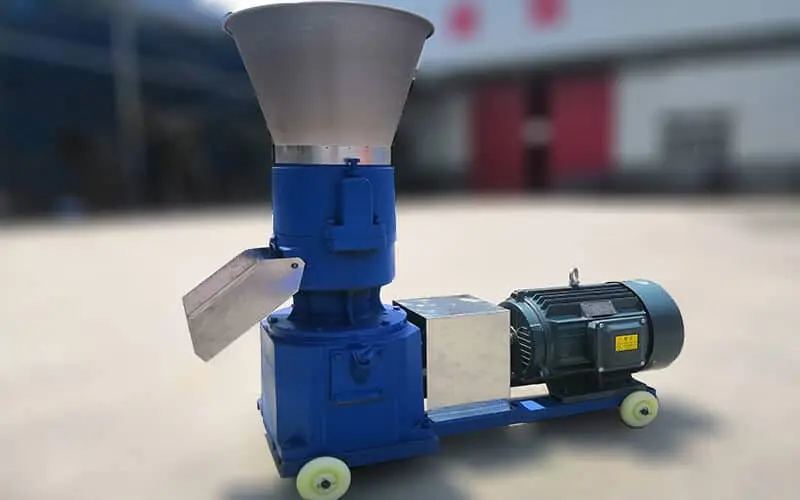
3. Run the Pellet Press with Care
Using an alfalfa pellet mill is simple, but a few rules are key.Watch the heat first. Make sure the die does not get hotter than 220°F (100°C). Animals will not eat burnt pellets because they taste bad.
Second, find the right amount of pressure, which is usually between 8 and 12 MPa. This makes pellets that are hard but still easy to eat. Also, make sure that your feed rate stays the same so that there are no jams. Safety is also very important. Always wear the right clothes. We learned the hard way when a friend’s sleeve got stuck in the machine.
4. Dry the Pellets the Right Way
The step that makes or breaks the process is drying. You can dry your pellets in the sun for free, but it takes 3 to 5 days and there is a high risk of mold. A belt dryer is an example of a machine dryer that costs money but can dry the pellets in just four hours with very little risk. Throwing a few pellets on a concrete floor is a fun way to see if they are dry. They are at the right 12% moisture level for storage if they bounce a little.

Sun vs. Machine Drying
| Method | Cost | Time | Mold Risk |
|---|---|---|---|
| Sun Drying | USD0 | 3-5 days | High |
| Belt Dryer | USD150/day | 4 hours | Low |
Field Test Trick:
Throw a handful of pellets on concrete – if they bounce like popcorn, you’ve nailed the 12% moisture target.
Smart Tips for Homemade Feed Pellets: Storage & Troubleshooting
Making your own feed pellets is a good way to save money and make sure your animals get the best nutrition. But making the pellets is only half the job. To get the most out of your work, you need to know how to store them properly and how to fix common problems. Here’s some advice that has worked for a long time.
Storing Your Homemade Pellets Like a Pro
Experienced farmers know that how you store your pellets makes a big difference in how long they last and how good they stay.
- Allow Air to Move: When stacking bags of pellets, always leave some space between them and between the bags and walls. This allows air to circulate, which helps prevent moisture buildup and mold.
- Fight Moisture from Below: Especially in winter or damp conditions, moisture can seep up from the floor. Putting down a layer of food-grade diatomaceous earth under your pellet bags can help absorb this ground moisture and keep your pellets dry.
- Keep Pests Away Naturally: Rats and mice can be a big problem in feed storage areas. A simple, natural way to deter them is to crush fresh mint leaves and scatter them around where you store your feed. Rats dislike the strong mint scent.
- Use Oldest Feed First: Always use the pellets you made earliest before starting on newer batches. This “first in, first out” system ensures your feed is always as fresh as possible.
Fixing Common Homemade Pellet Problems
Even with care, you might run into a few issues when making pellets. Here’s how to solve two common ones:
- Problem: Pellets are Crumbly (Like Cornbread)
- Likely Cause: The feed mixture was probably too dry before it went into the pellet machine.
- The Fix: Try adding a little more water to your mix. The total amount of moisture should be between 12 and 15%. You can do this by putting in a little bit of water. Adding a small amount of vegetable oil (about 2% of the mix by weight) can also help the ingredients stick together better and make the pellet firmer.
- Problem: The Pellet Mill Makes a Loud, Unusual Grinding Noise
- Likely Cause: This usually means that your raw materials have small rocks, pieces of metal, or other hard things in them, especially if you are using hay or things you found.
- The Fix: Stop the machine right away! Running it more could cause a lot of damage. Before you process your ingredients, make sure there are no foreign objects in them. You might need to sift your raw materials more carefully if this happens a lot.
Spotlight on Alfalfa Pellets: Your Questions Answered
Making your own alfalfa pellets can be especially rewarding. Here are answers to a couple of common questions:
Q: Can I make alfalfa pellets with basic or modified equipment?
A: Some farmers with good mechanical skills have been able to change old wood chippers and other machines by adding a pelleting die that fits them, like a 6mm die for alfalfa. But this method needs a lot of care when it comes to safety and how the machine works. Most people will find that using a pellet mill made just for making feed is safer and more reliable.
Q: What’s the best moisture level when making alfalfa pellets?
A: For alfalfa, aim for a moisture content of around 12-15% in the material just before it goes into the pellet machine. This usually results in pellets with the ideal texture and hardness.
Q: Can you make your own alfalfa pellets?
Yes, for sure. A lot of farmers and homesteaders use this method to make their own hay into a dense, easy-to-store feed. In Alaska, pelleting the hay harvest from the summer in August is a smart way to get ready for the long winter.
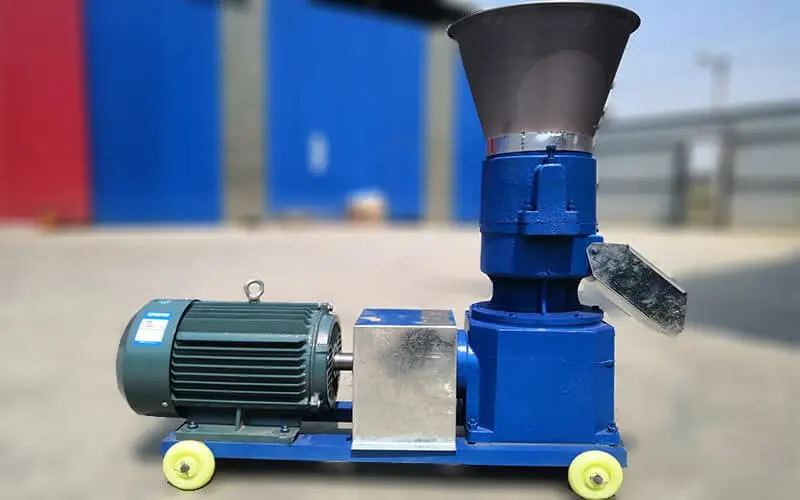
You will need two important machines to do it right. To start, you need a hammer mill or hay grinder to break up the dry alfalfa into small, even pieces. Second, you need a mill for alfalfa pellets. The machine then uses a lot of pressure to turn the ground hay into solid, dense pellets.
The Real Benefits: A Farmer’s Success Story
Making your own high-quality alfalfa pellets can really change the health of your animals and the finances of your farm. You can think about the experience below:
“We saw a huge drop in our feed costs, 22%, after just two feeding cycles when we switched our 500-head dairy to making its own alfalfa pellets. But the money saved was not the only win. The best part was seeing our heifers grow and do well. No matter what the weather was like outside or how the pasture was doing, they were getting the same high-quality, weed-free food every day.
